Introduction
I am not exactly great at this whole thing and I am constantly trying to improve things, so this is based on my design at the time of writing which is the result of a lot of trial and error.
I should probably be using a nice CAD tool, but I am not exactly familiar with any so my tool of choice is Blender.
The focus of my design is printability and functionality.
Most important for printability is to avoid overhangs as much as possible because the usually don't turn out as well as you'd wish, even with supports which need to be removed once printing is done and usually require some additonal sanding.
Designing the body
Since the batterie is the biggest and heaviest part, I started my design with that and went from there. But since I got differently sized batteries I also need a way that supports different sizes.
My result looks like this:
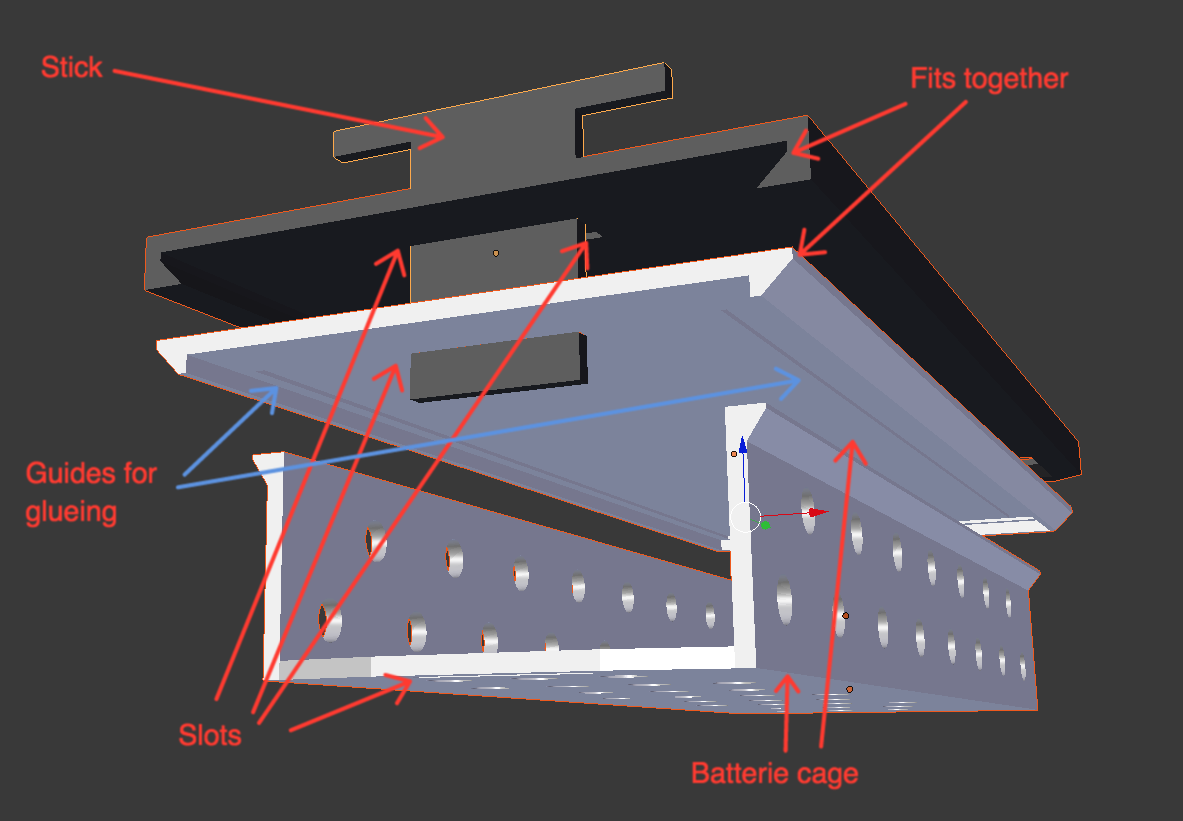
The two lower parts are glued together and hold the batterie. The lowest part can be printed in different sizes for different batteries and should hold it tightly. The holes are in there to get air close to the batterie in case it gets warm.
The lower parts together slide into the top part and are held in place by the stick.
The top part can have several slots for the stick to support the different batterie cases.
The center part has some guides for the lower part to make the glueing easier.
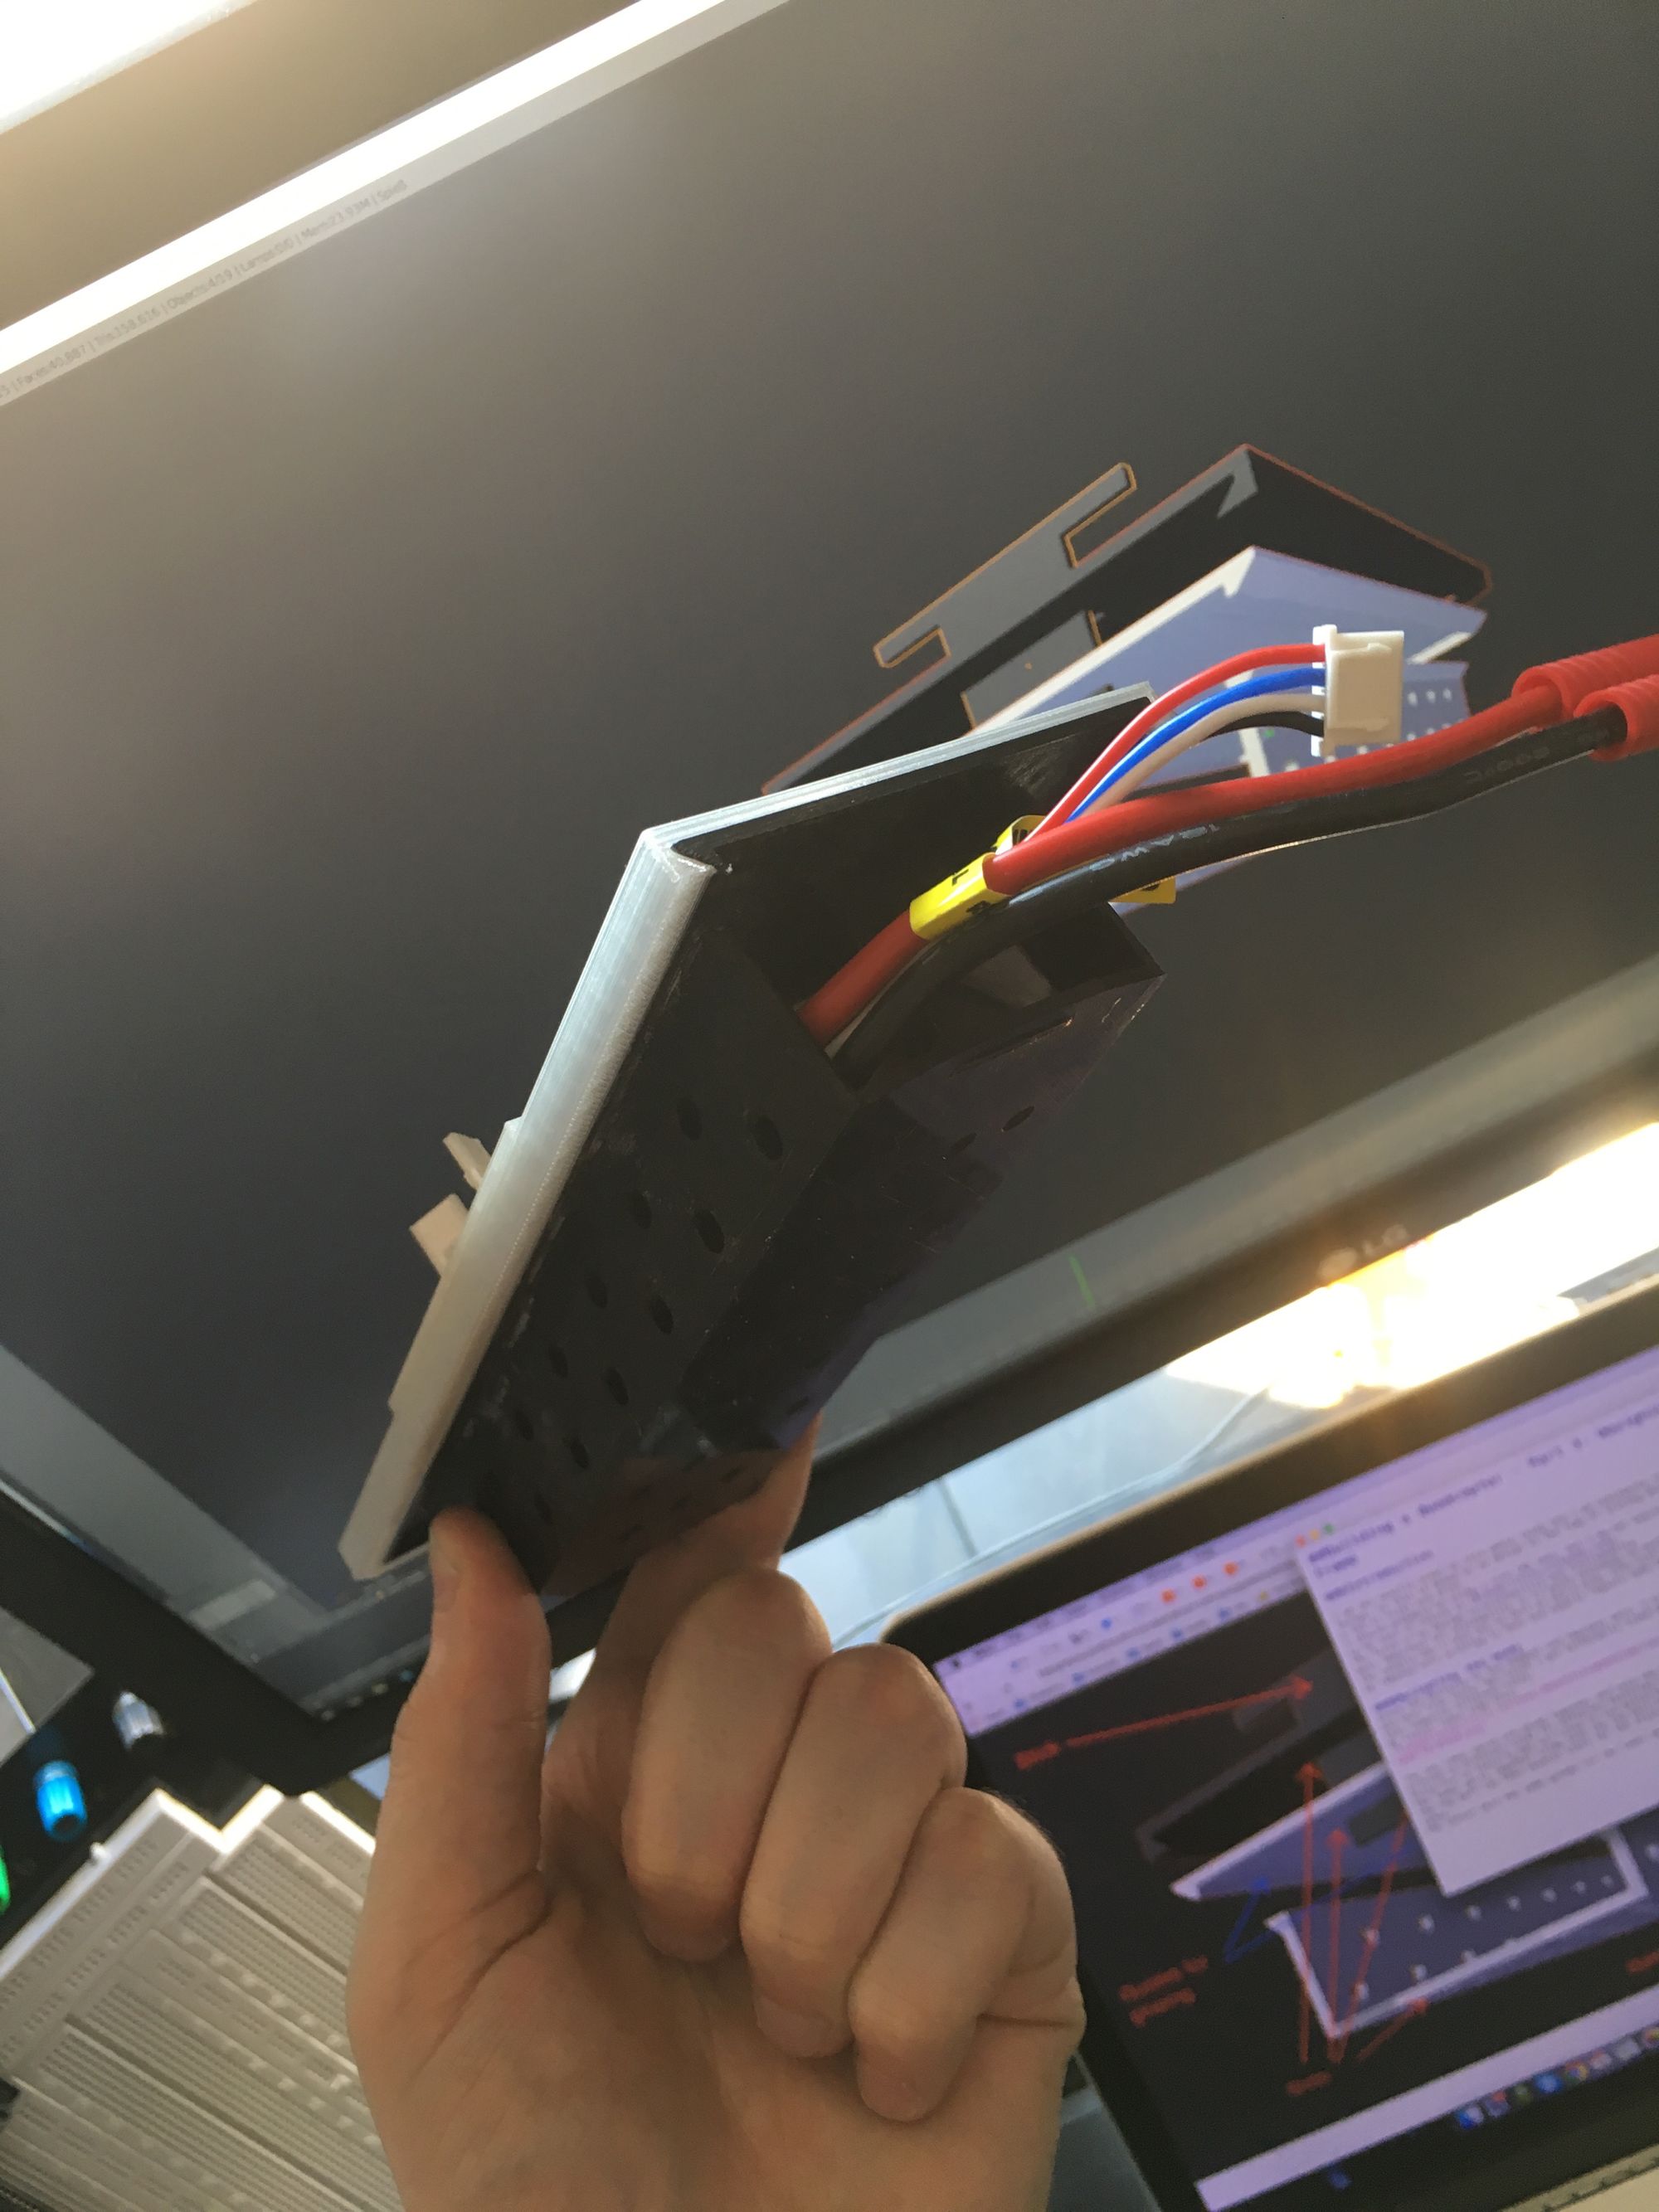
This is my printed result for the small batterie:
Designing the arms
Important for the arm length is that the propellers don't touch! PLA but even material with carbon fiber is not perfectly stiff so you should also keep some additional distant between the motors.
The resulting arm length can be calculated with pythagoras (and then some transformations): (radius*2+safety)/sqrt(2) = length
My propellers have radius of 12.5cm, I decided on 8cm space for safte: (12.5*2+8)/sqrt(2) = 33/sqrt(2) = ~24cm
The arms turned out to be a bit longer than that in the end, but I used this as my minimum.
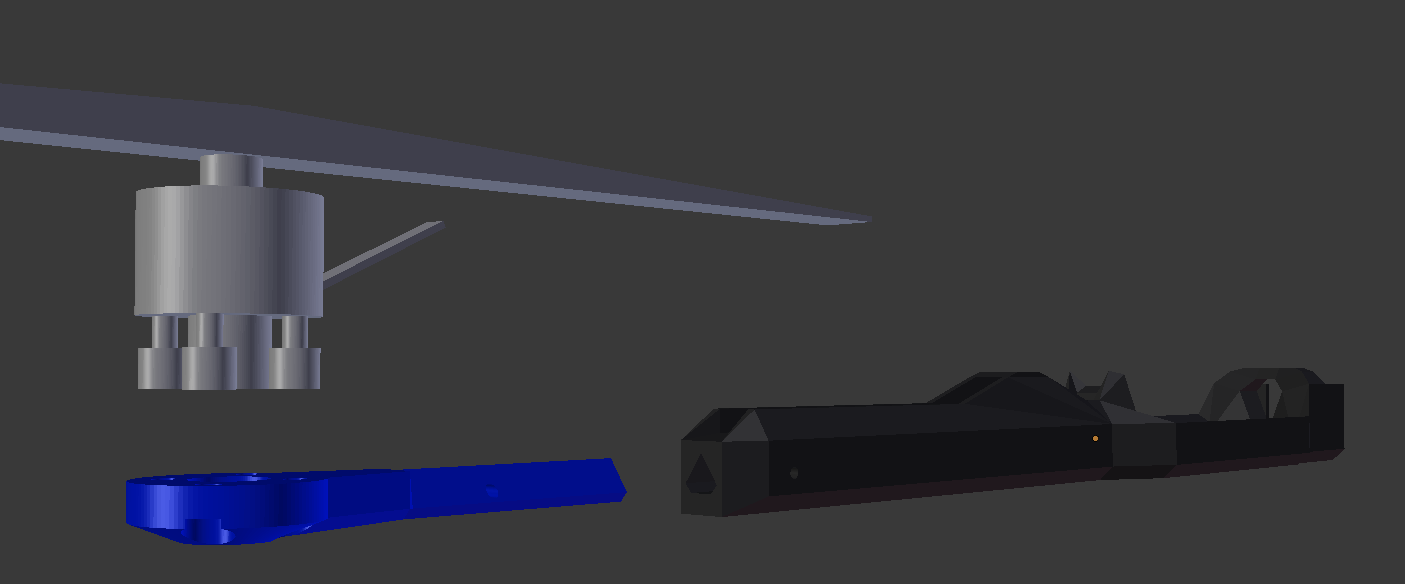
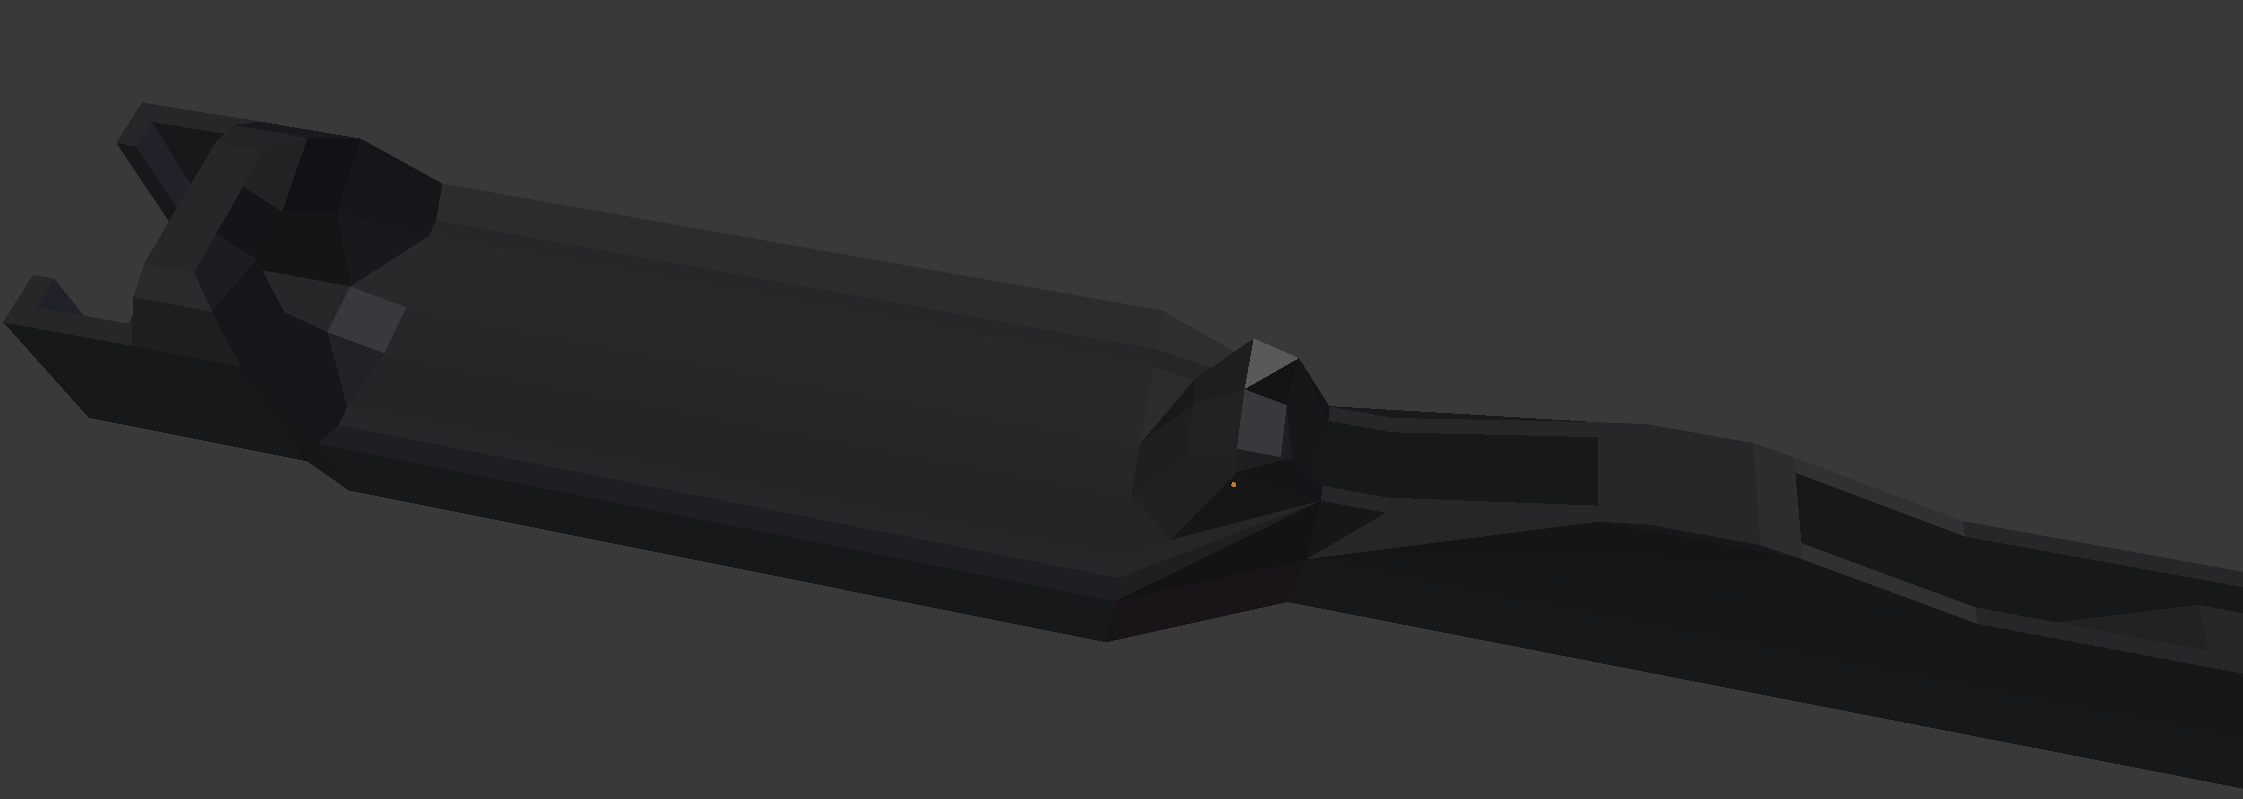
The blue part has holes to fit the scrows for the motor and slides into the actual arm. Both can be held together with a nail or something fitting the small hole at the side of both parts.
The arm has some guides for the cables and space for the ESC:
Because the connection between the blue part and the arm works very well I started out with a similar approach to connect the arm to the body, but for several different reasons it didn't really work out. And while I did print a somewhat working quadcopter with that design and a lot of glue, at some point one of the arms broke off and gave up on my tries to fix it. Instead I changed the connection design:
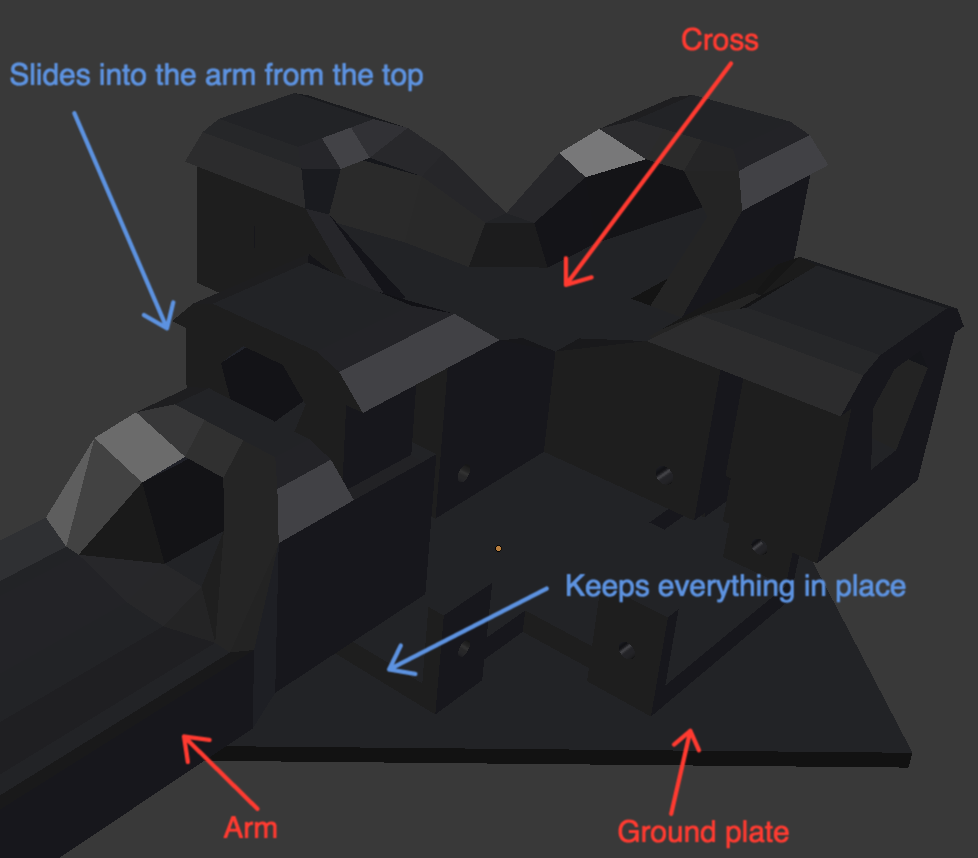
It turned out to be very stable, but the print quality needs to be high otherwise things won't slide together well and one or both parts will break. Some sanding can also help improve the situation.
Putting the edison on top of everything
I modeled a simple case for the edison, but didn't print it yet, so it may or may not do the job... It does allow for a bit of airflow around the edison which will be facing the bottom of the case because I will have the spark fun display block at the top.

The two highlighted parts will be glued together.
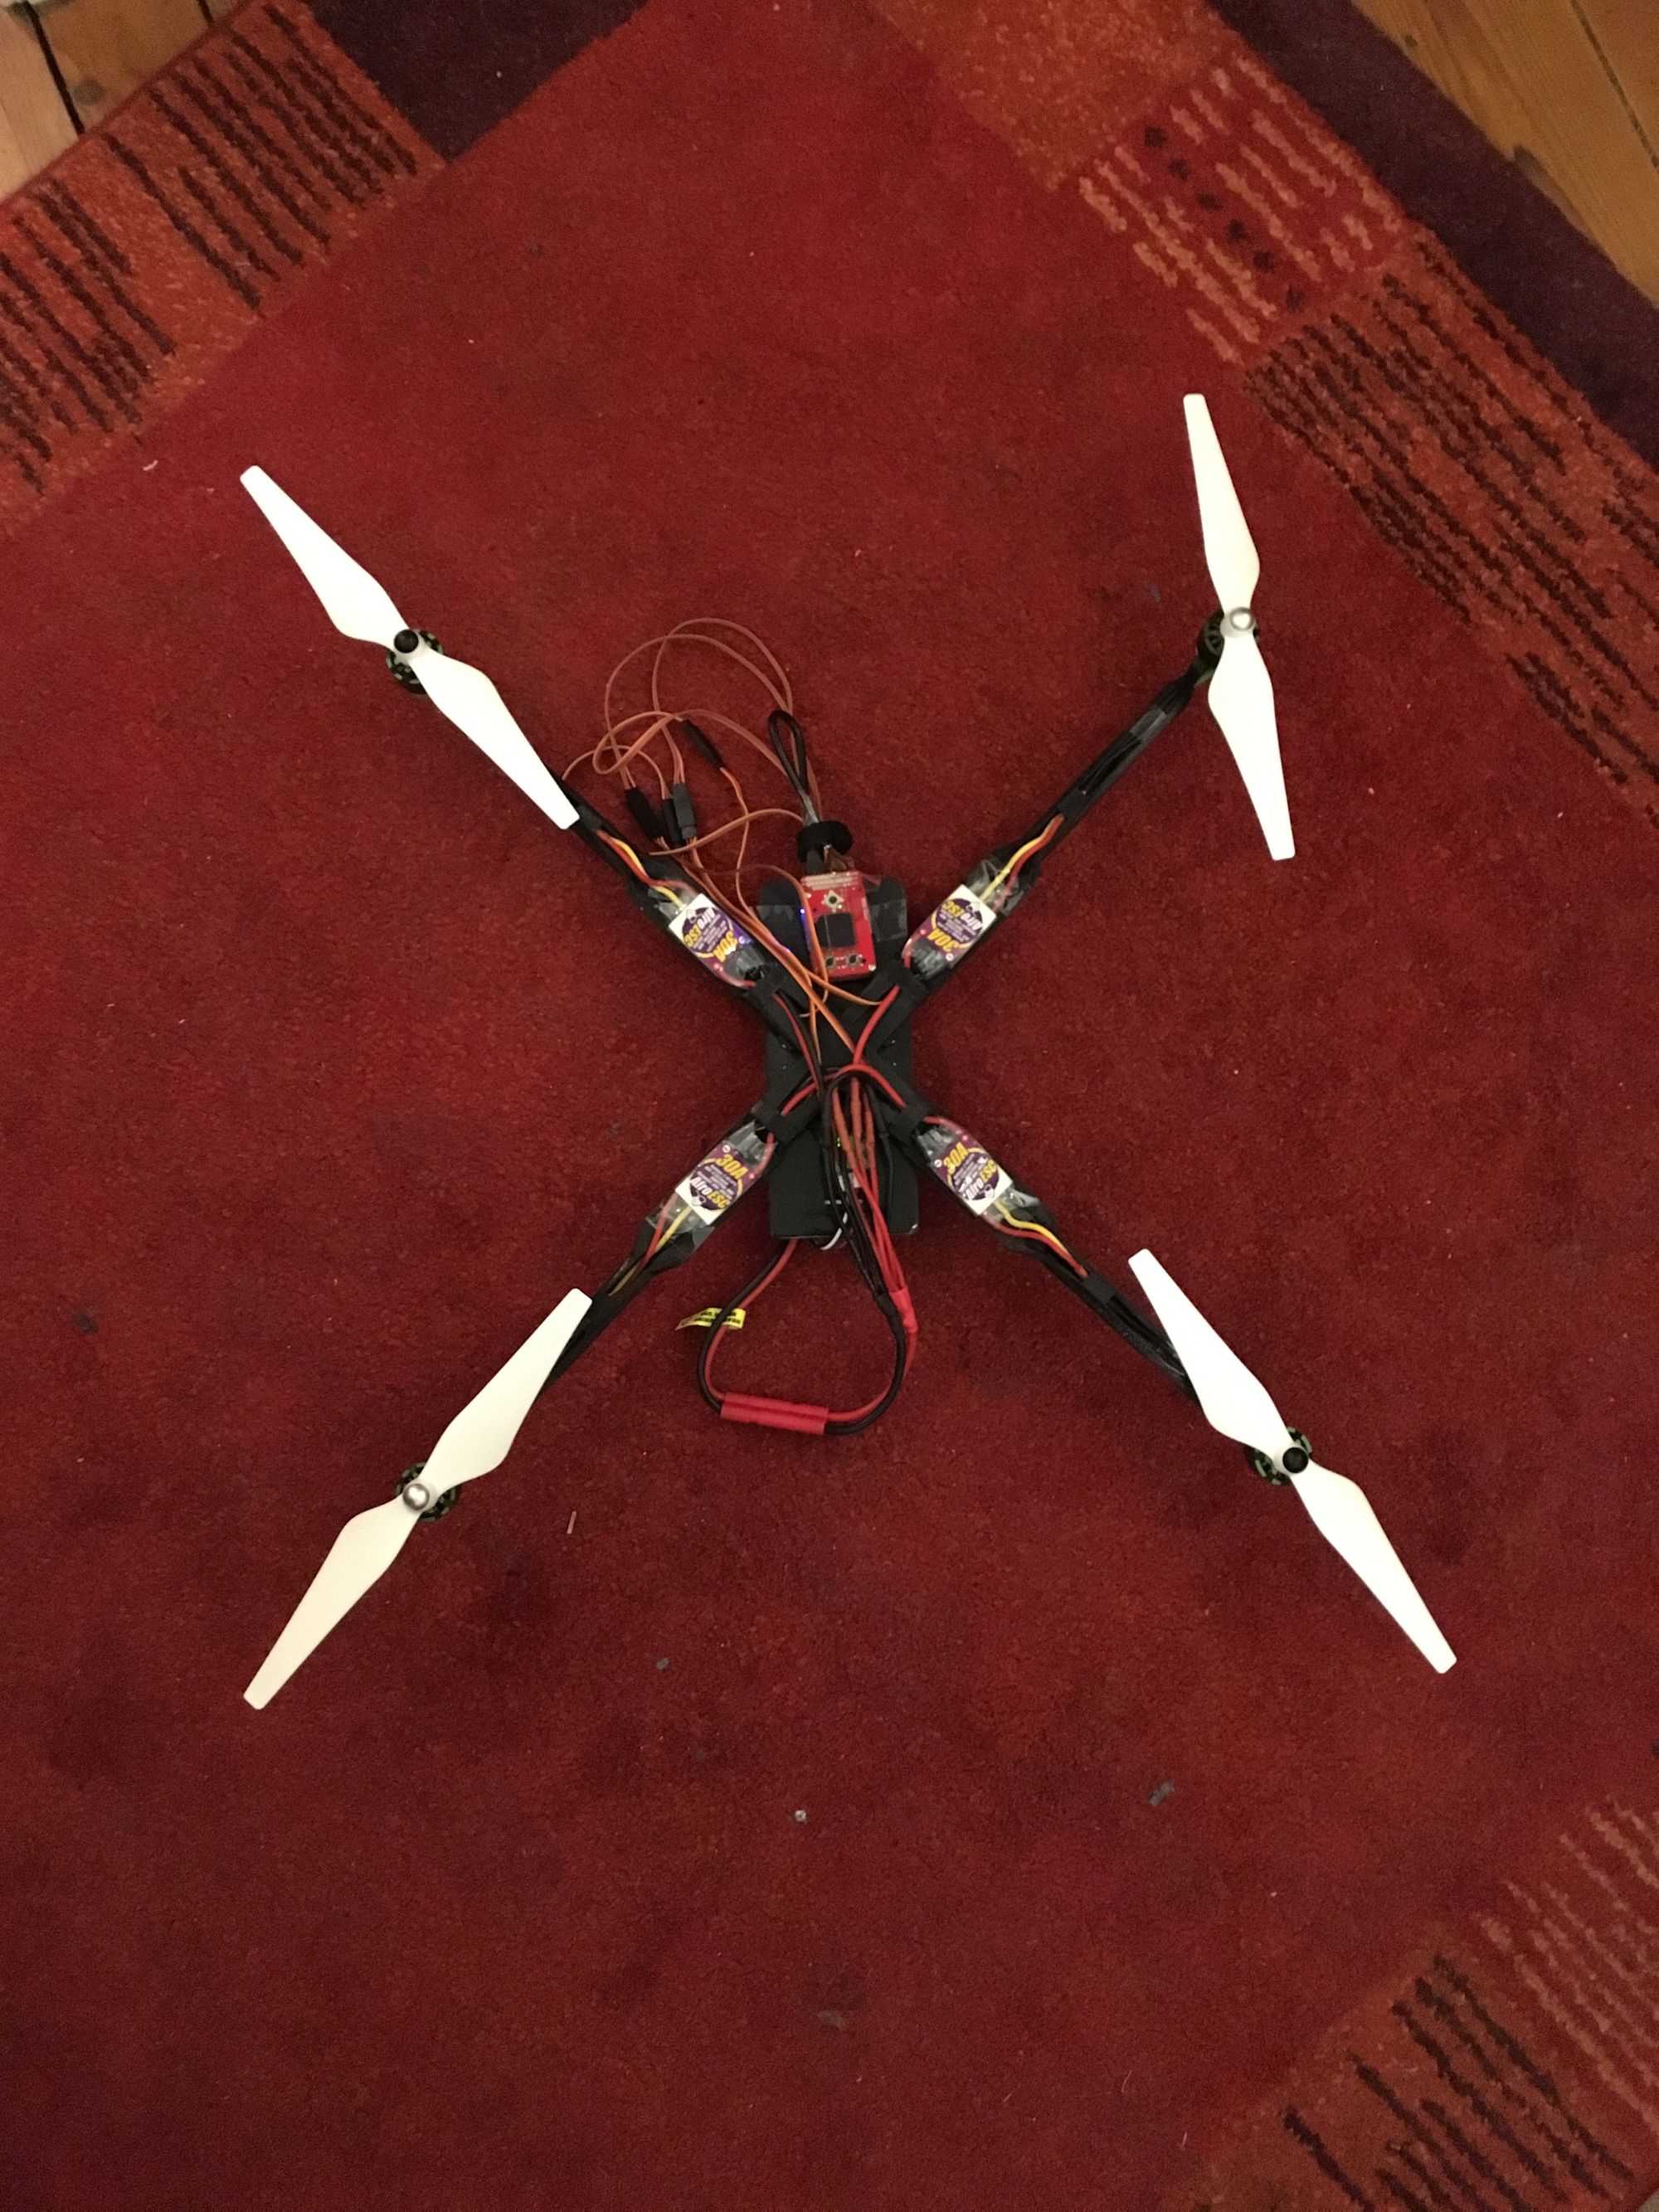
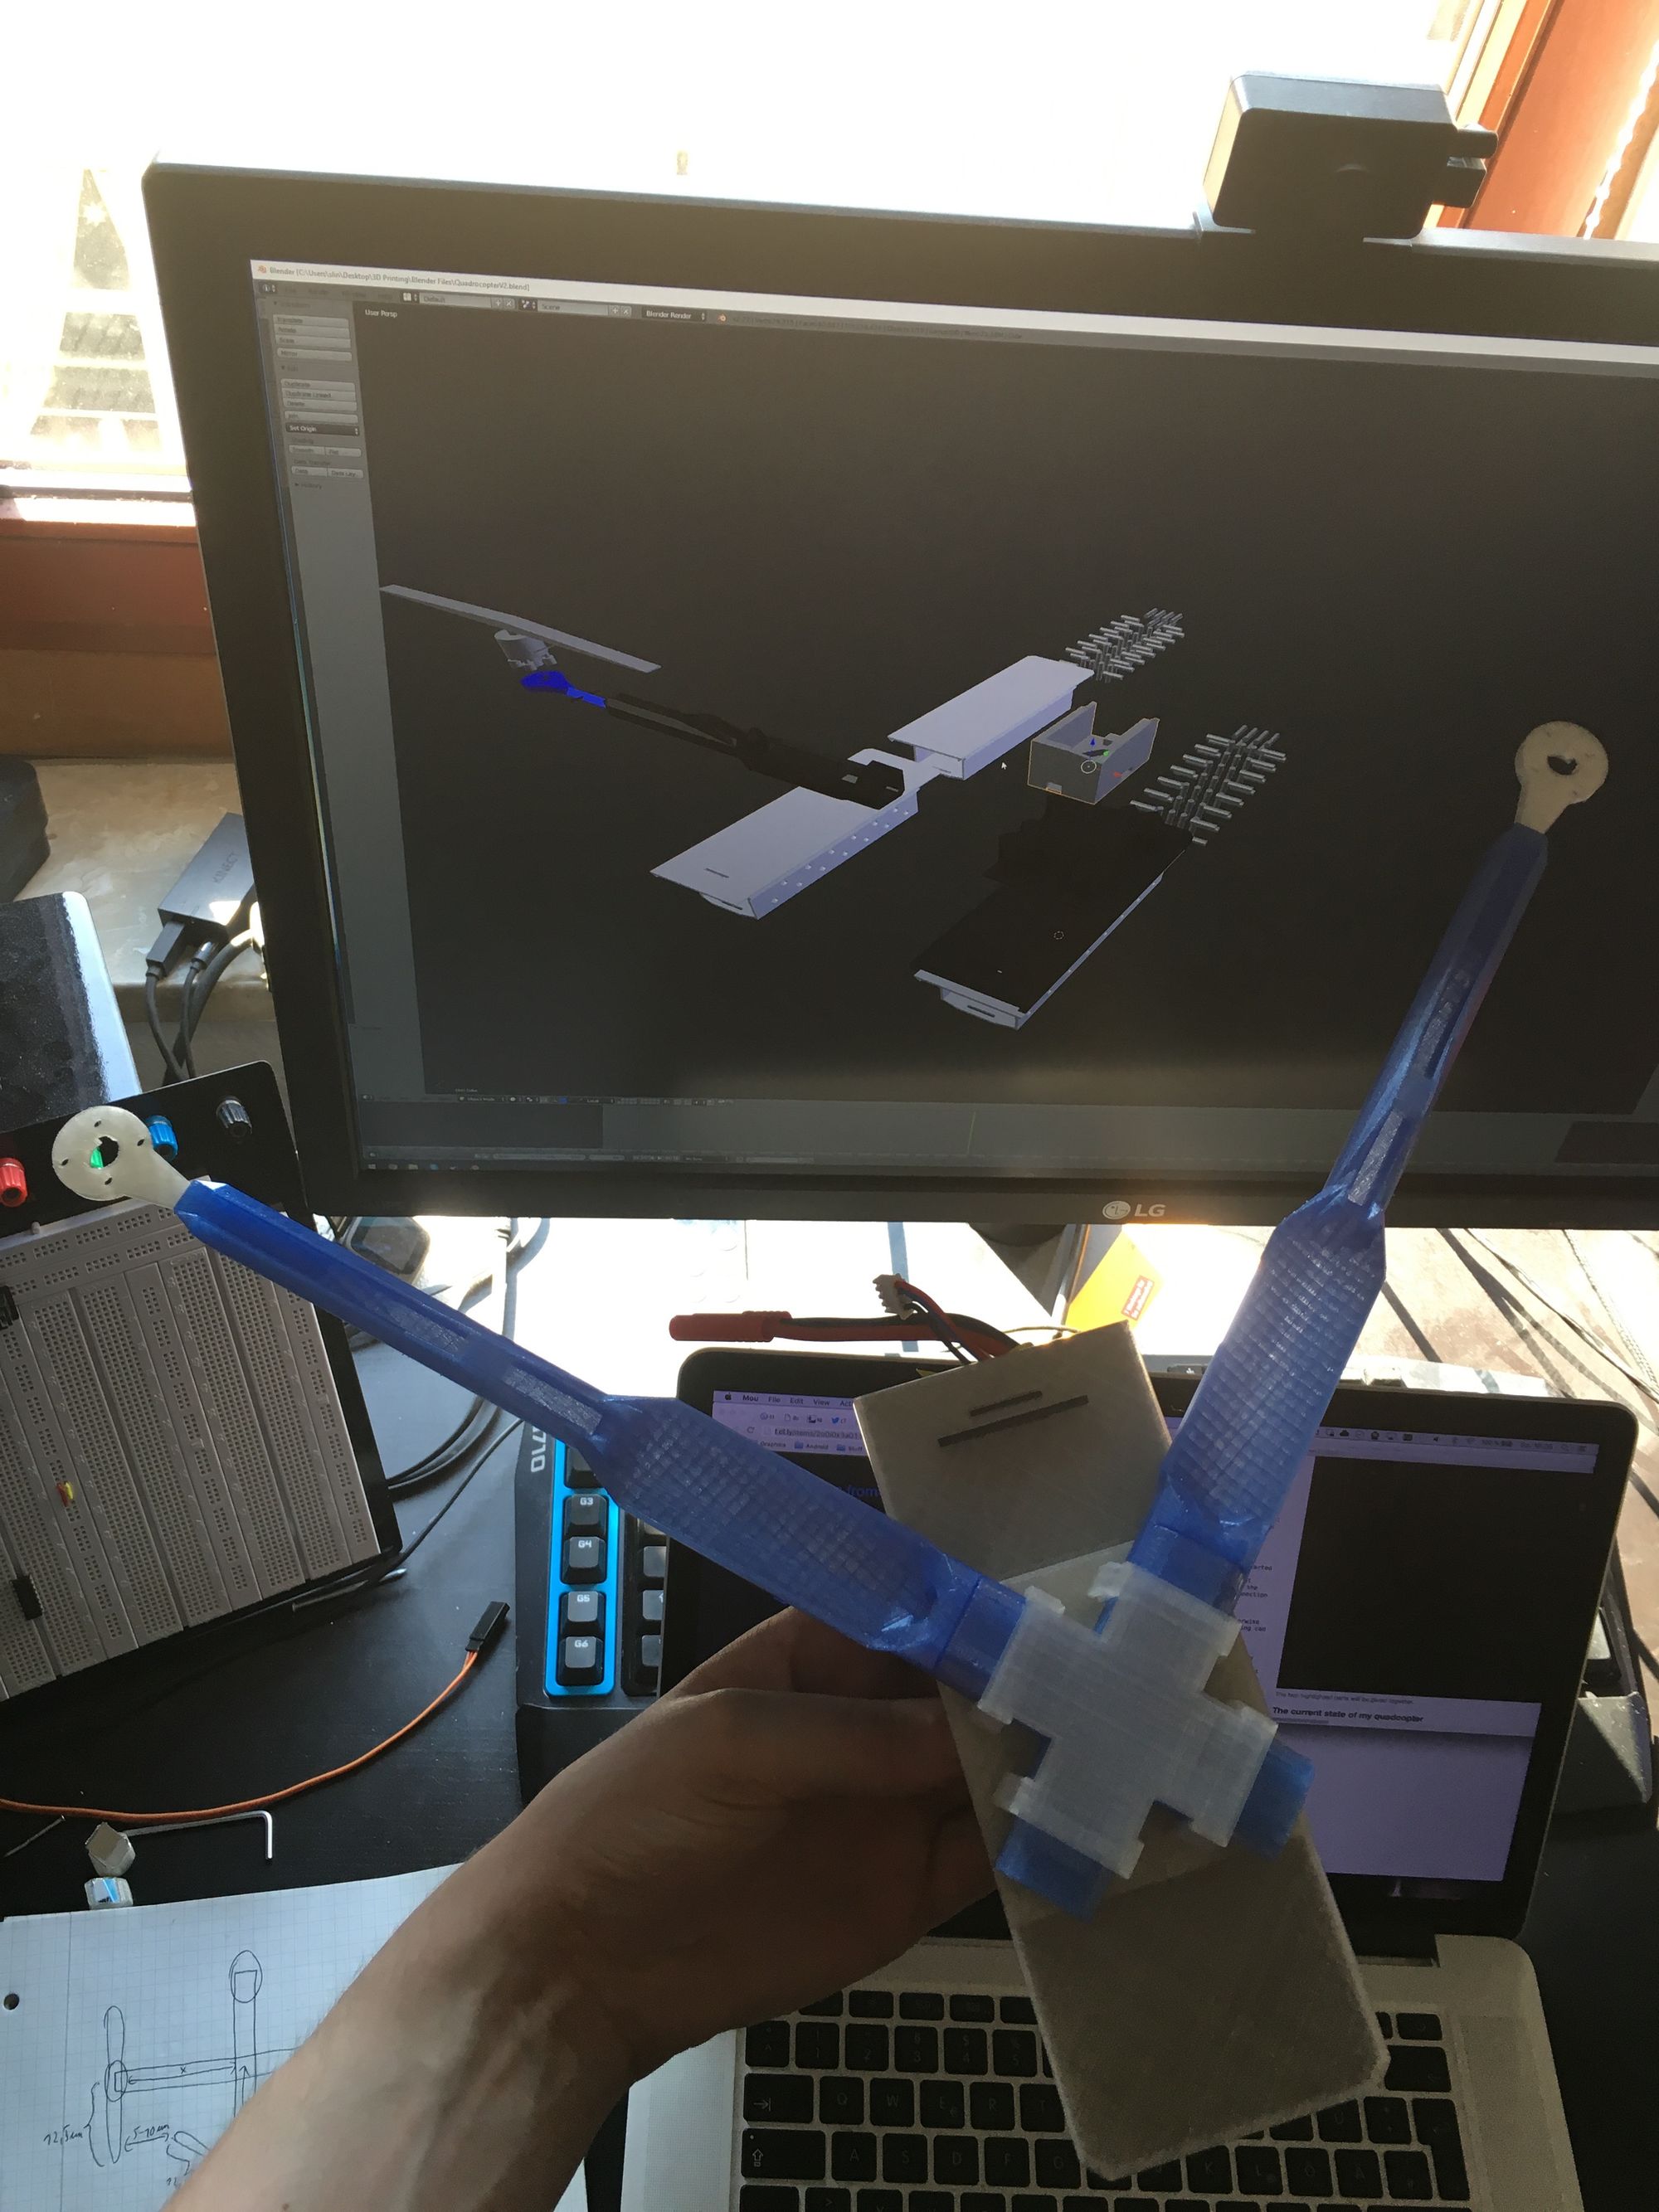
The current state of my quadcopter
It is only missing two more arms, which are half way through printing while I write this. Printing two arms at once takes about 9h at my current print settings. And of course the edison case is also missing, but I'll hopefully get to that in the next few days.
On the coding side I managed to get some controls working to keep the quadcopter to hold its orientation, but I still need to find some good values to make it work with the real thing.
I also experimented printing with carbon fiber filament and plan to replace some of the quadcopter parts with it, but printing it well is a lot harder than with PLA.
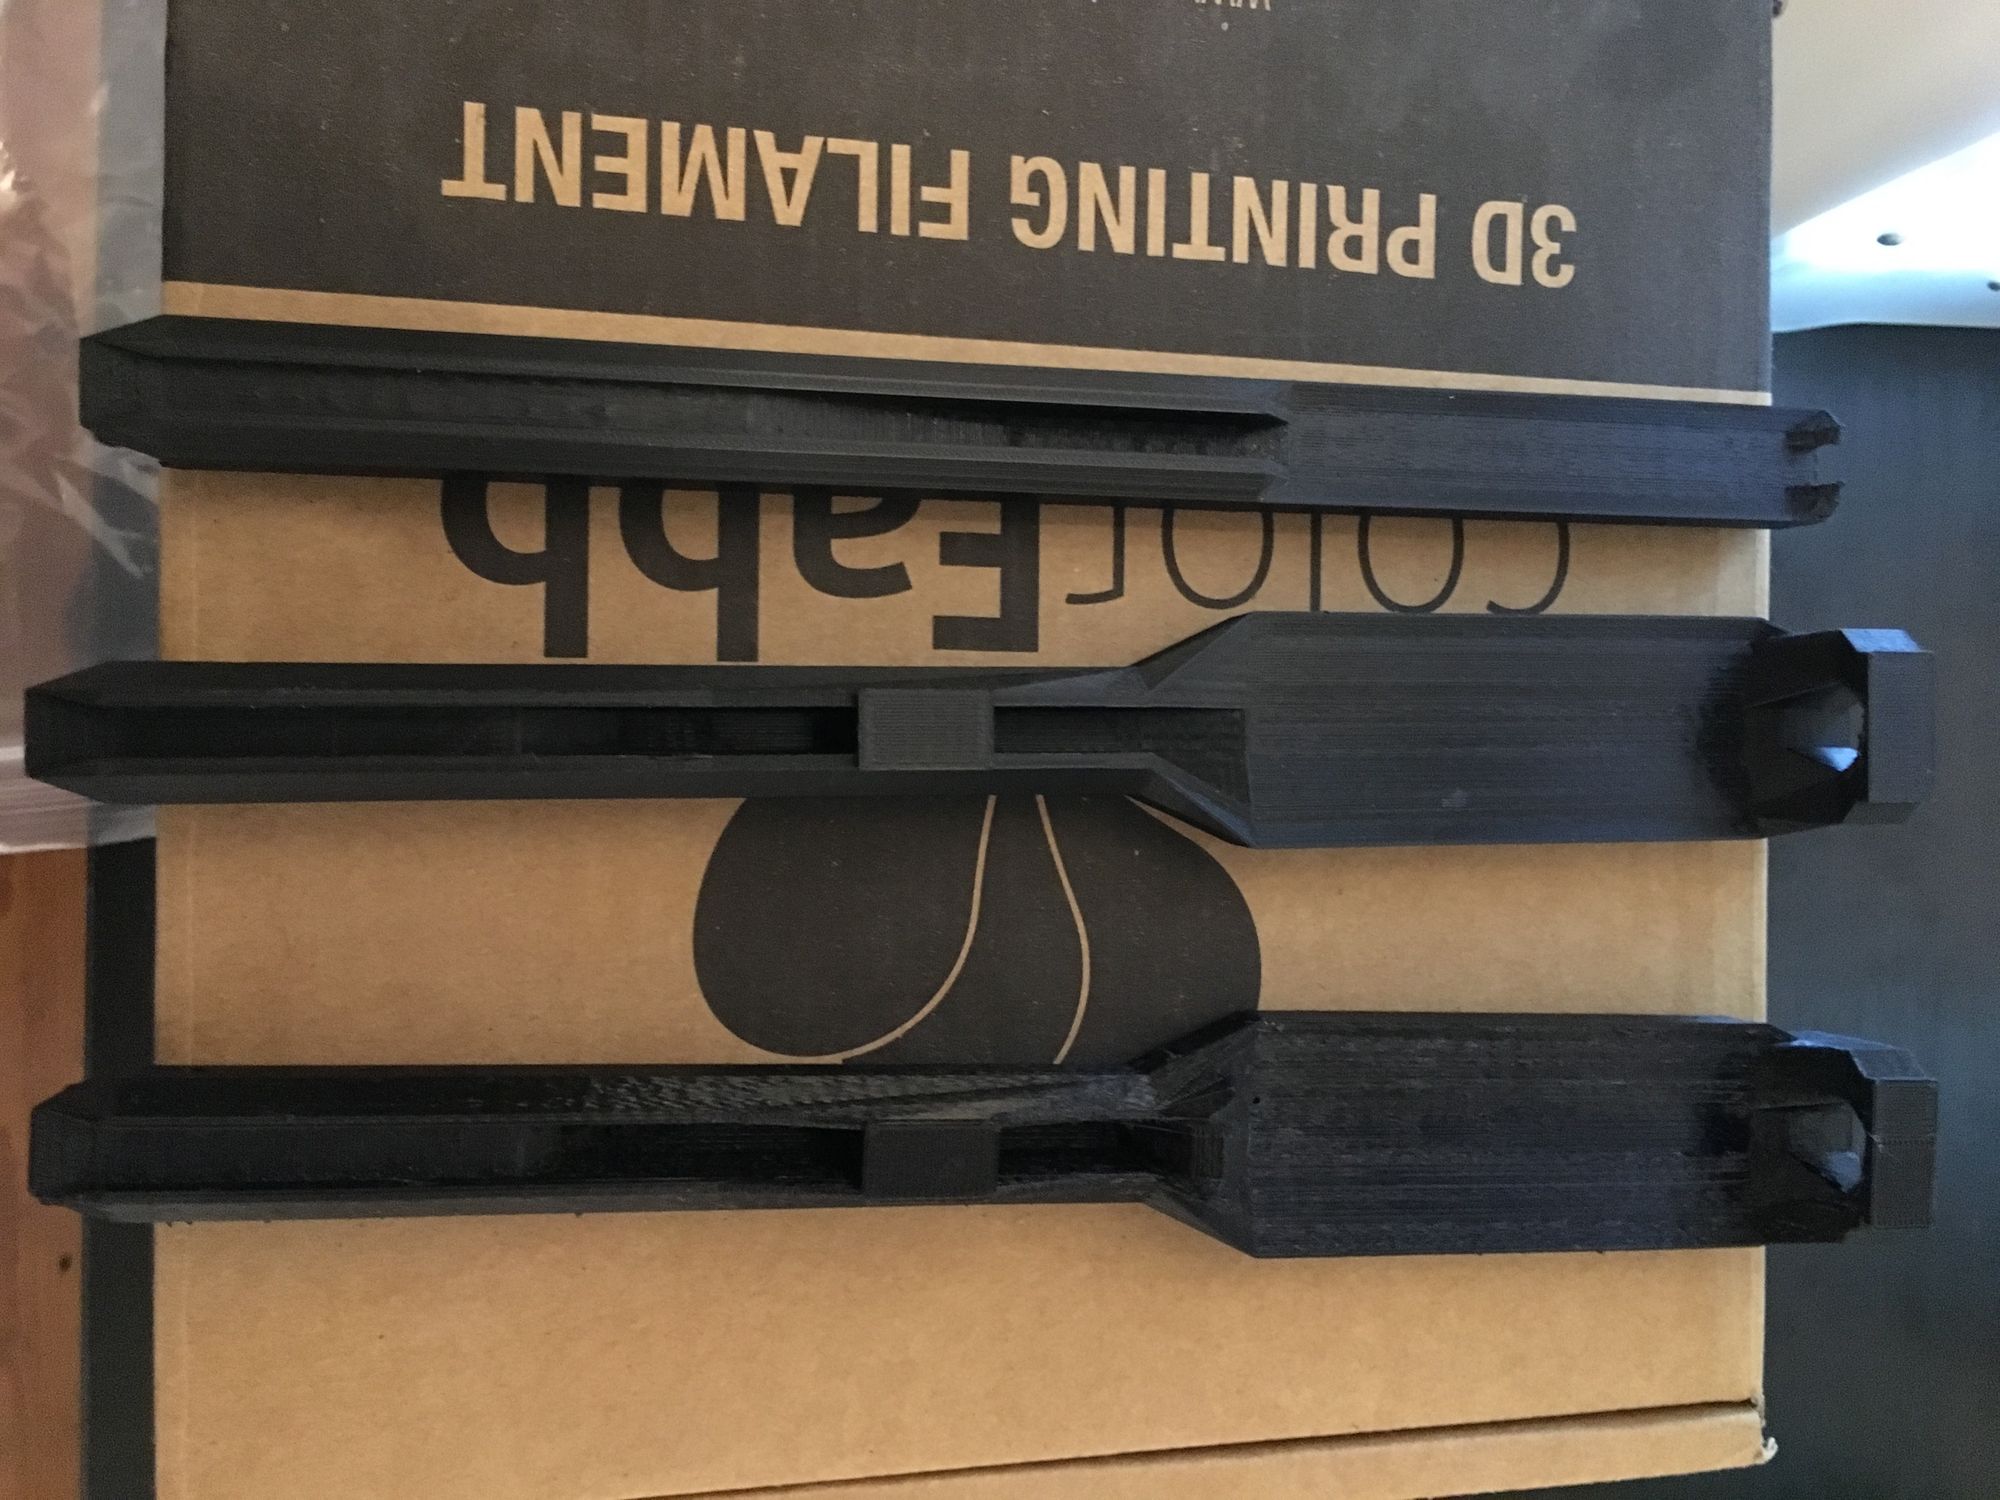
Some older photos
Iterations on the arm design, oldest on top, latest not there ;)
The stupid old connection

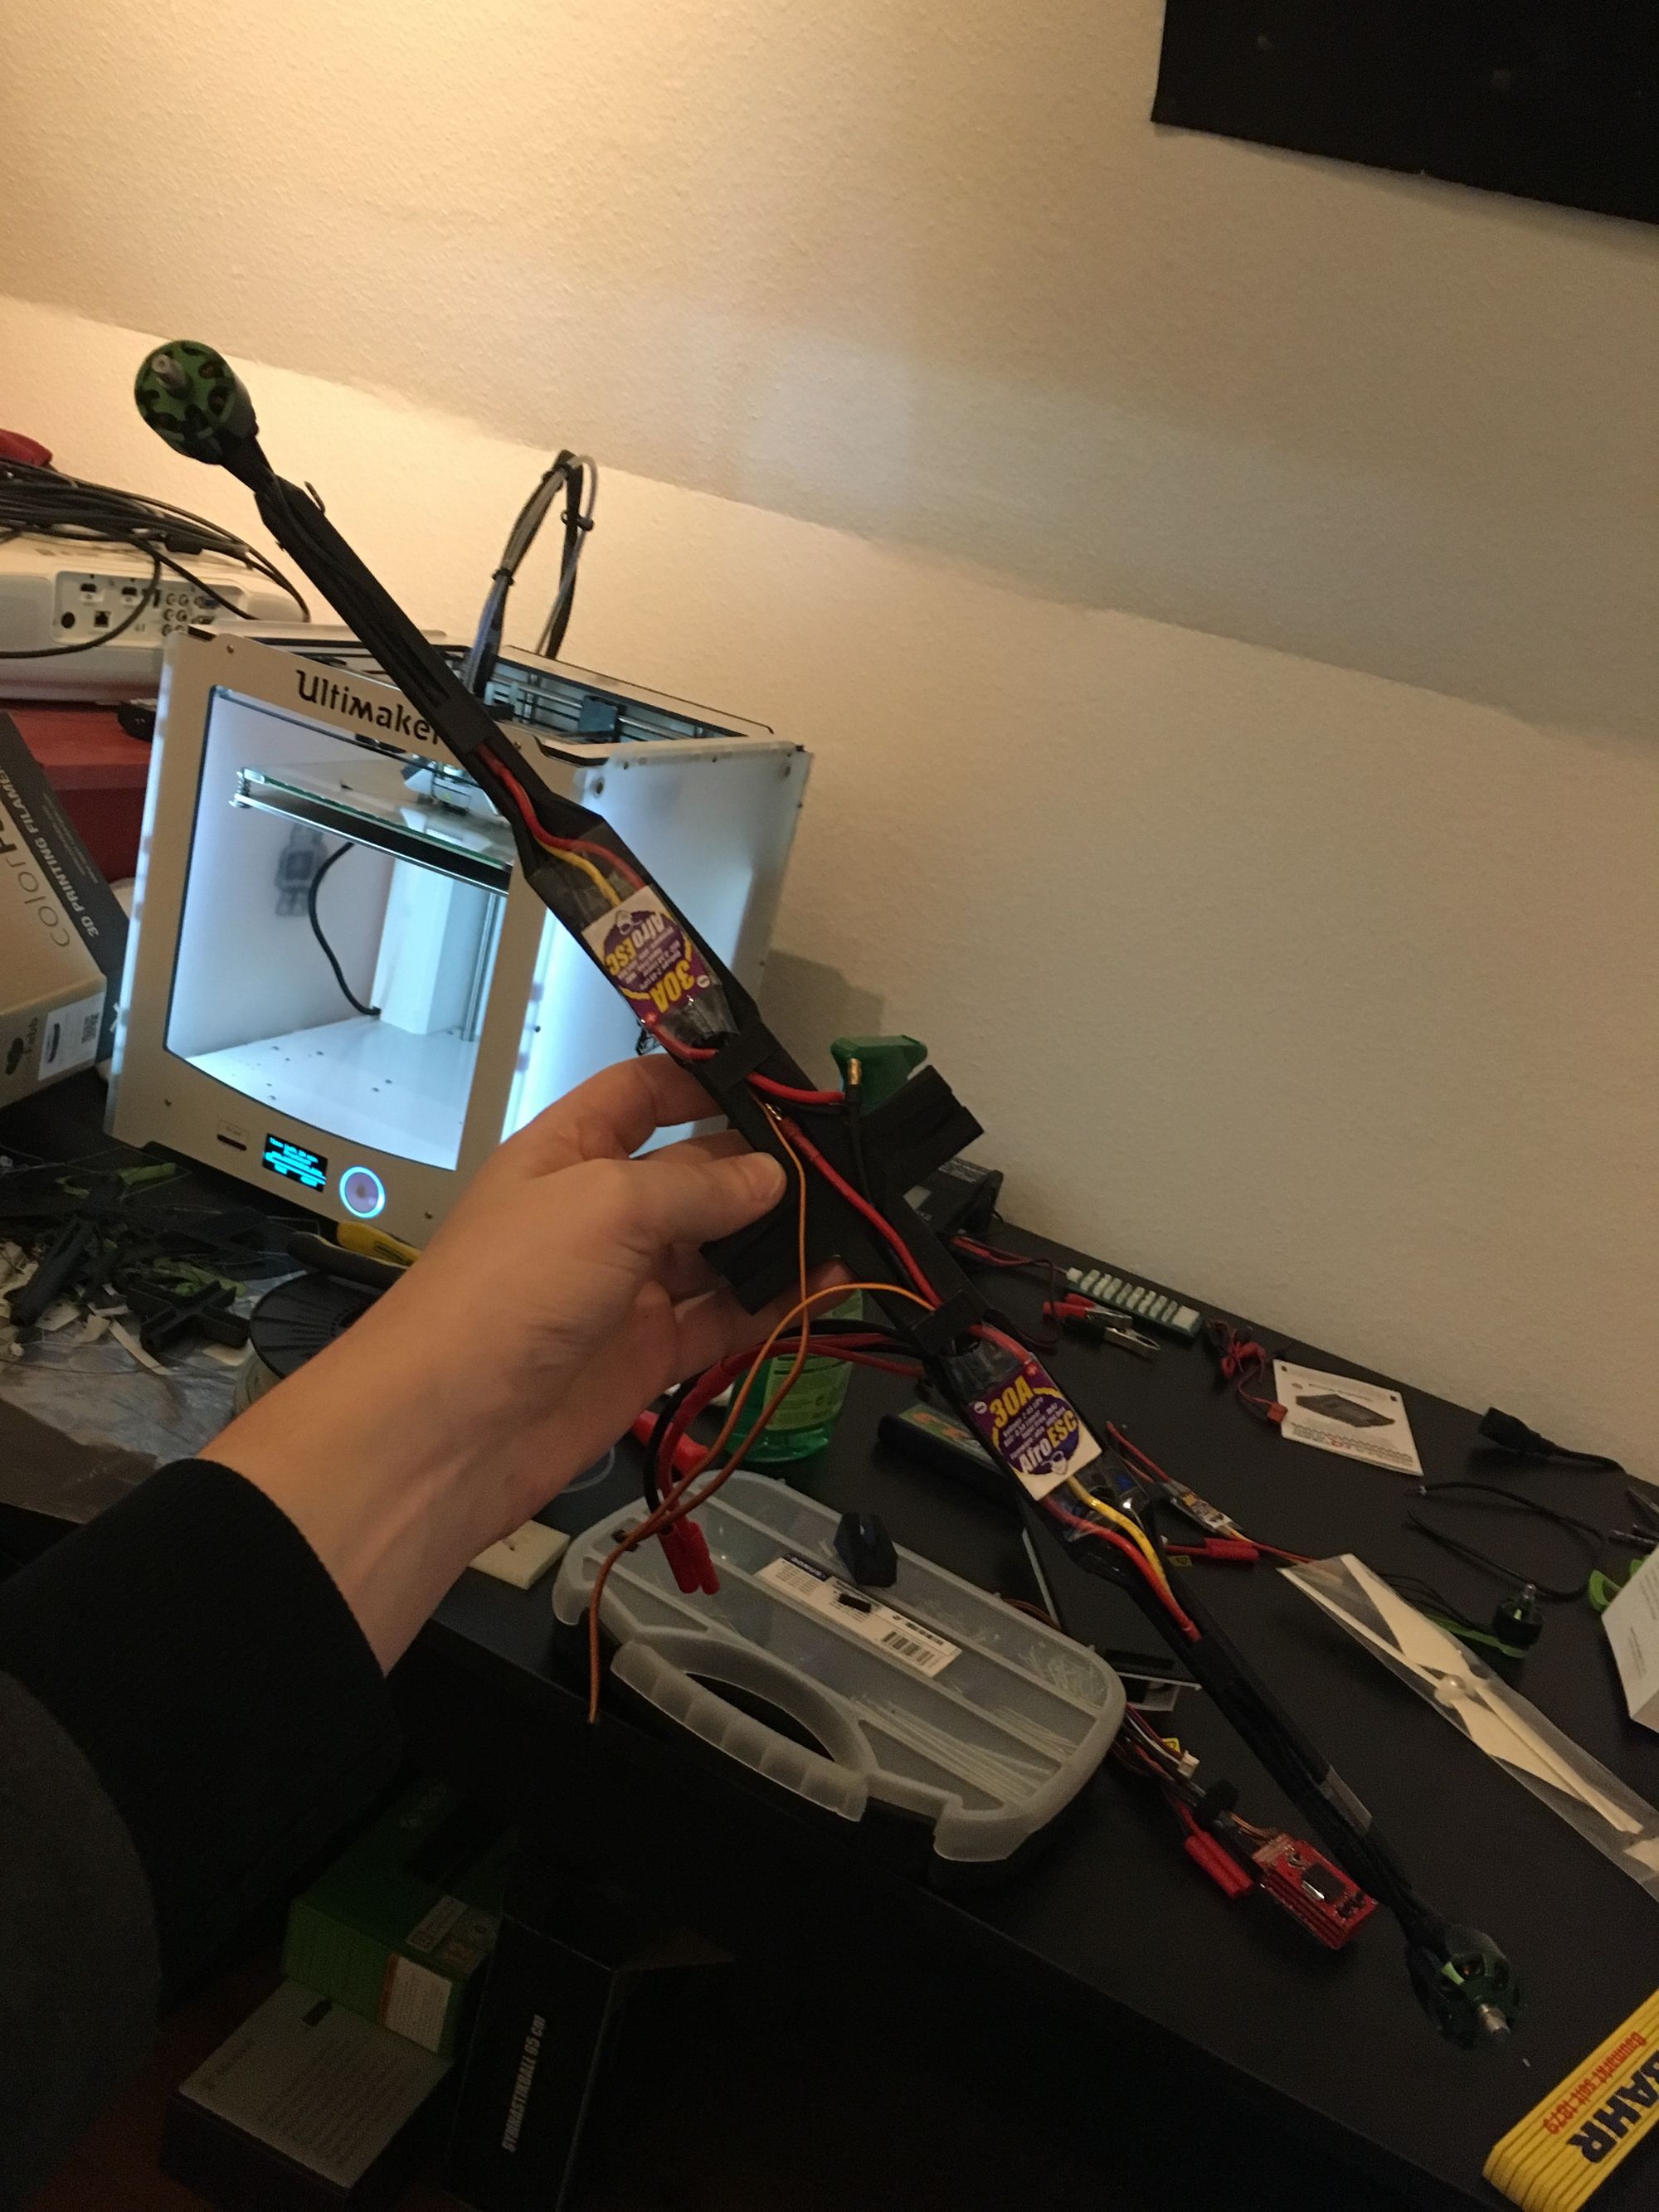
Two arms with motor and ESC
The whole thing

Somewhat flying...